You’ll love this project in which I turned mini plaques into DIY mini ornaments for Christmas. Use Mod Podge and holiday scrapbook paper.
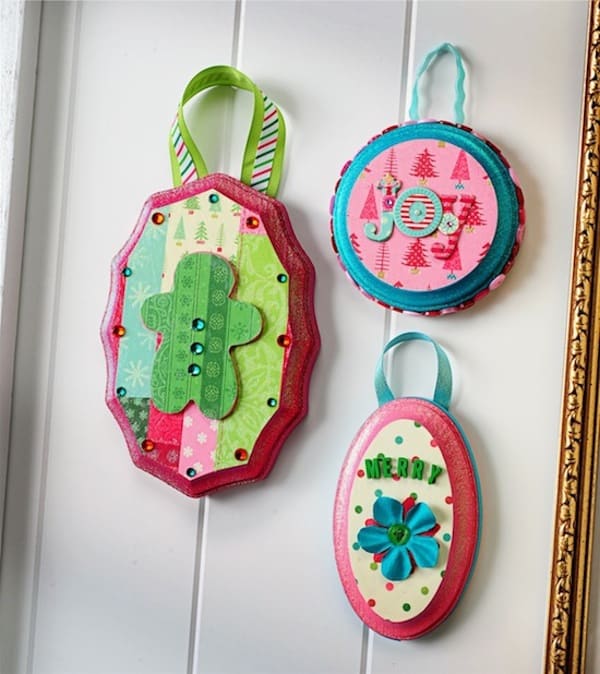
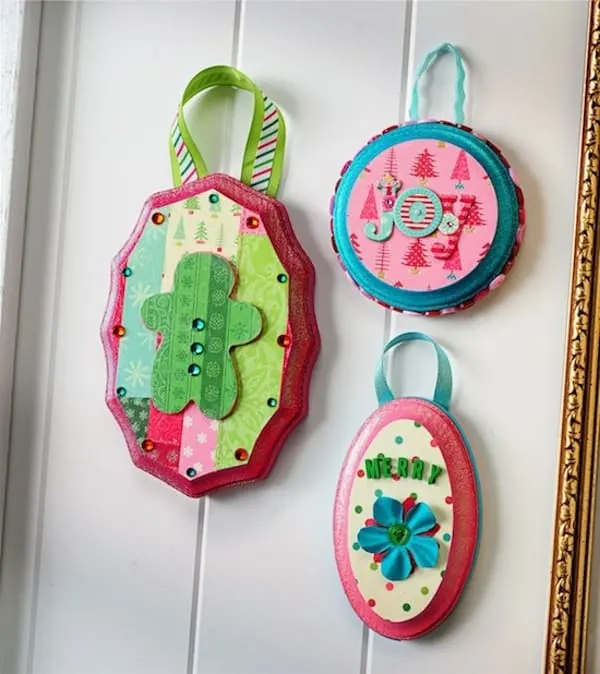
Check out my holiday minis – aka, DIY Christmas ornaments! Remember when I did the Halloween ones? Well they are back – like a bad penny – this time in perfect holiday shades.
Am I the only one who likes brights this time of year? Colors that are non-typical? I know my readers by now, and you do! Here’s what you’ll need to make this cute wood Christmas craft.
DIY Mini Ornaments
Gather These Supplies
- FolkArt Acrylic Paint – Bright Baby Pink, Magenta, Teal
- FolkArt Extreme Glitter – Hologram
- Mod Podge Gloss
- Wood mini plaques – I got these shapes from Michaels, each were $1
- Wood shape – I chose a gingerbread man, $.29 at Michaels
- Scrapbook paper – grab something Christmas themed
- Embellishments – all were from my stash: ribbon, self-adhesive rhinestones, buttons, paper flowers, small letters
- Flat paintbrush
- Craft glue
- Scissors
- Pencil or pen
- Spare sheets of plain paper


I always trace the shapes for my finished project first. Why? Because if pencil/pen marks get on my surface, then I can paint over them.
Start by tracing the top of the minis onto your spare sheets of plain paper. These will be your templates for cutting out the scrapbook papers later on.
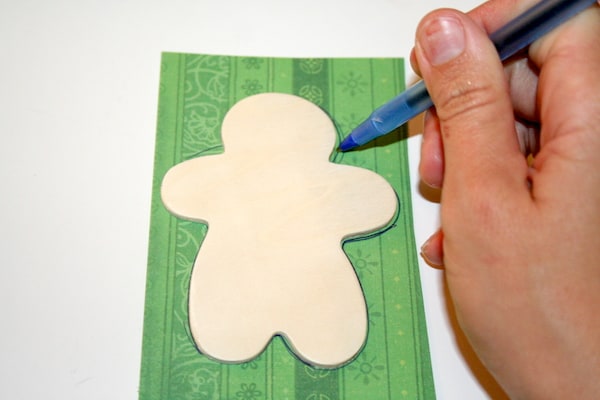
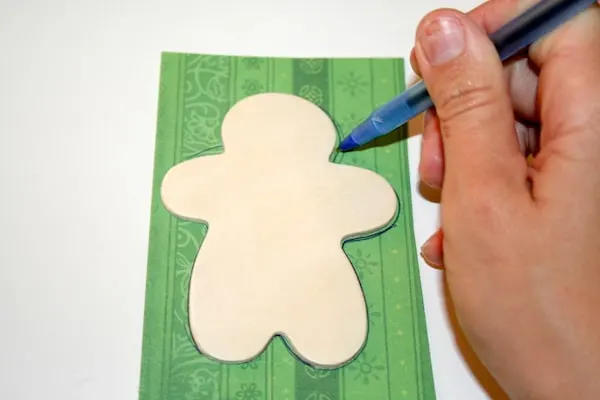
At this this time you should also trace any wood shapes you are going to use (like my gingerbread man). Set those sheets aside – you’ll cut them while the paint is drying on your project.

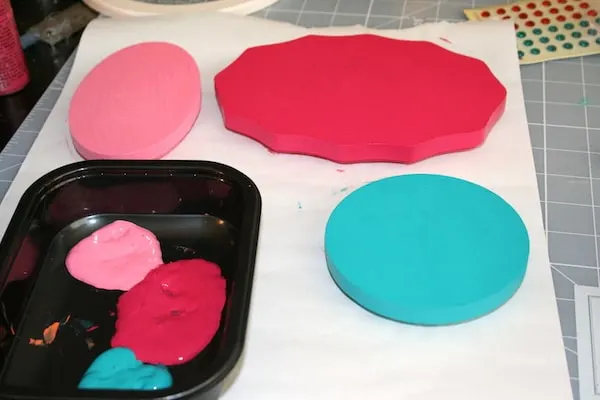
Choose what papers you want to use from your pretty scrapbook papers – figure out which paper goes on which mini and then choose corresponding paint colors. Paint the minis accordingly. You will have to paint several coats of all colors.
Allow to dry. Don’t forget to paint the edges of any wood pieces you use! I painted my gingerbread man Magenta on the edge to match the plaque it was going on.
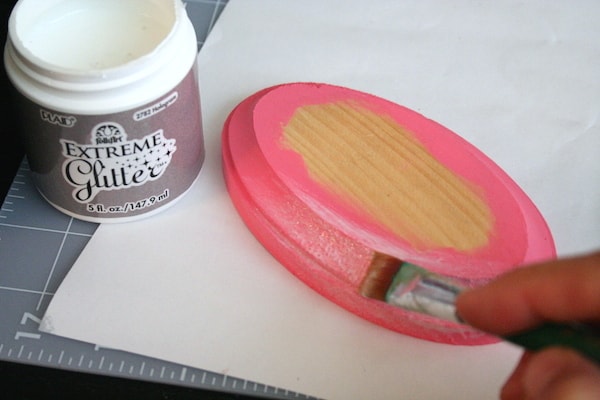

At this point I used FolkArt Extreme Glitter in Hologram to *really* make my plaques sparkle. I painted 3 coats around the edges of all my minis, letting dry about 15 minutes between coats. Allow to dry after the last coat.

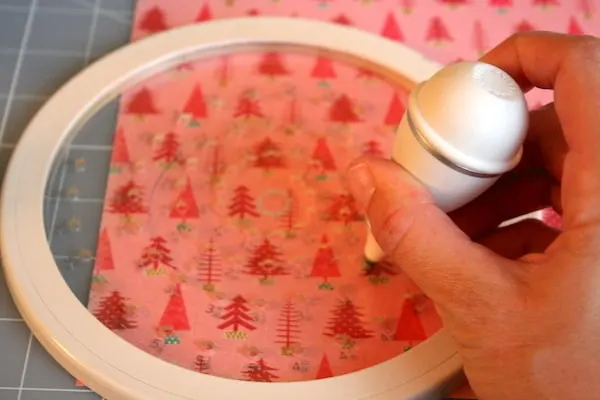
You are now going to cut the paper(s). Grab your templates and place them down onto the scrapbooking paper. Cut out the shapes of the plaques and of the gingerbread man. The circle plaque is nice because you can just use a circle cutter on that one.

When your plaques are dry, adhere these paper pieces to the fronts of the plaques and wood piece(s) using the Mod Podge. Try not to get any on the edges of the minis because it will cause the glitter to dull.
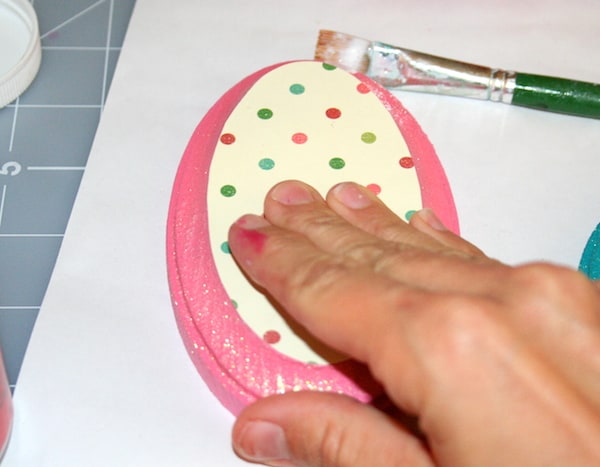
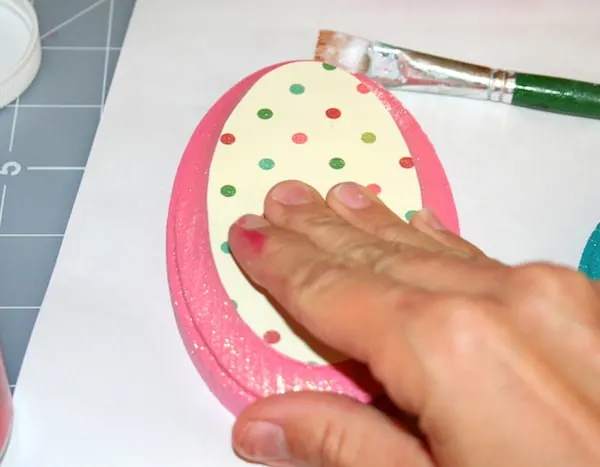
Completely smooth out all air bubbles and allow to dry for 15 – 20 minutes.

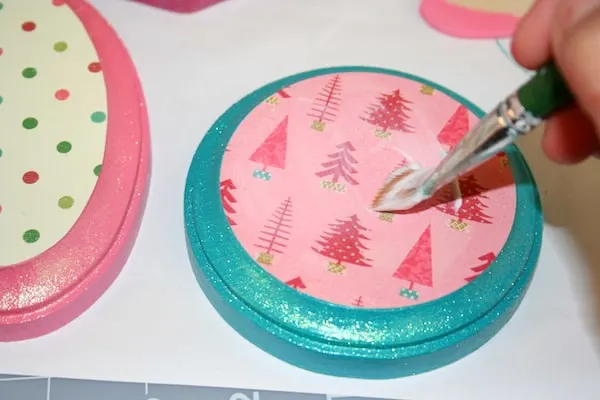
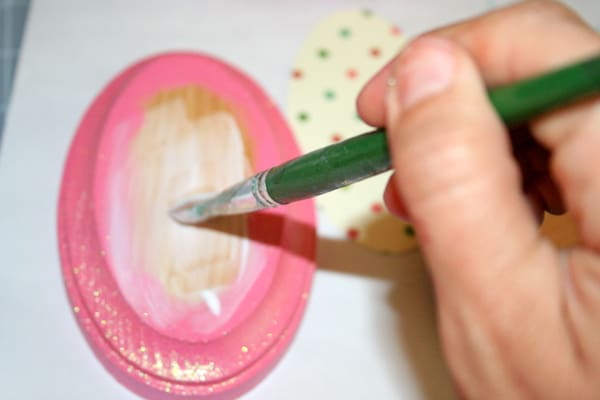
Coat the fronts of the minis again with at least two coats of Mod Podge. Allow to dry completely.
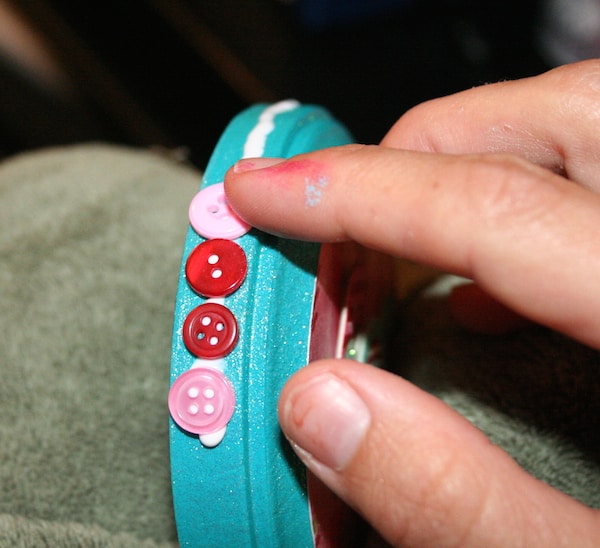

Here’s the fun part – go crazy with embellishments! Check out my picture to see what I did. Use your craft glue to glue any wood pieces down, then add embellishments as desired. Try to use items in your stash; it’s fun!
Allow your Mod Podge ornaments to dry for at least 24 hours before using.
What do you think of these DIY mini ornaments? Would you make them for Christmas? Let me know in the comments! I’d also love for you to visit the following projects:
By Deva
Friday 18th of December 2009
Wow so beautiful!!!
Crystal
Sunday 13th of December 2009
these are downright adorable! love the papers you chose too!
YelliKelli
Saturday 12th of December 2009
Darling! Darling! Darling!Anyone who knows me expects hot pink, lime, turquoise, and yellow for Christmas colors!I love this medium! My K-1 class(private art/ craft) calls it Hodge Podge!
Rebekah
Friday 11th of December 2009
*Squeal* SO CUTE!!!!
Emily
Friday 11th of December 2009
Yeah, me too.....digging the teal and pink!