
Kelly wanted the look of decoupage postcards on her desk so she tackled the project with Mod Podge! Learn how easy it is to do here.
Skills Required: Beginner. You’ll be cutting up postcards or postcard paper to Mod Podge to the top of a desk. It helps to have some experience with Mod Podge to avoid wrinkling.

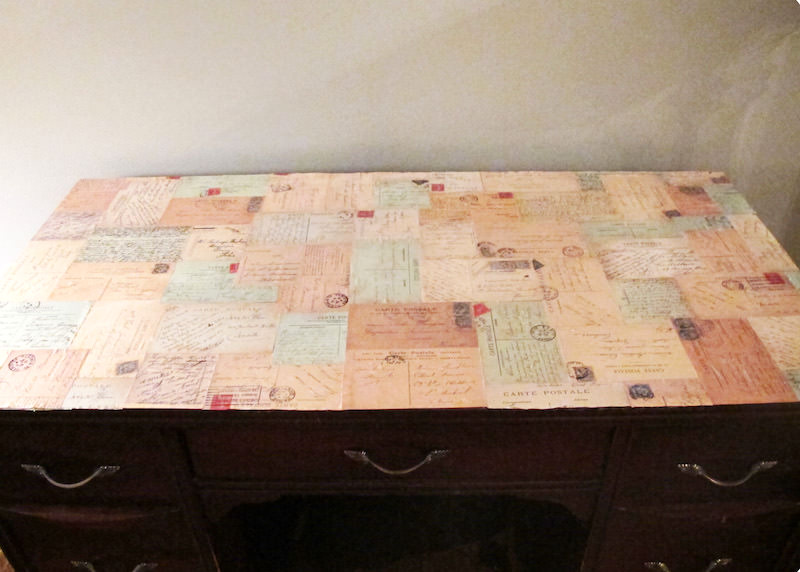
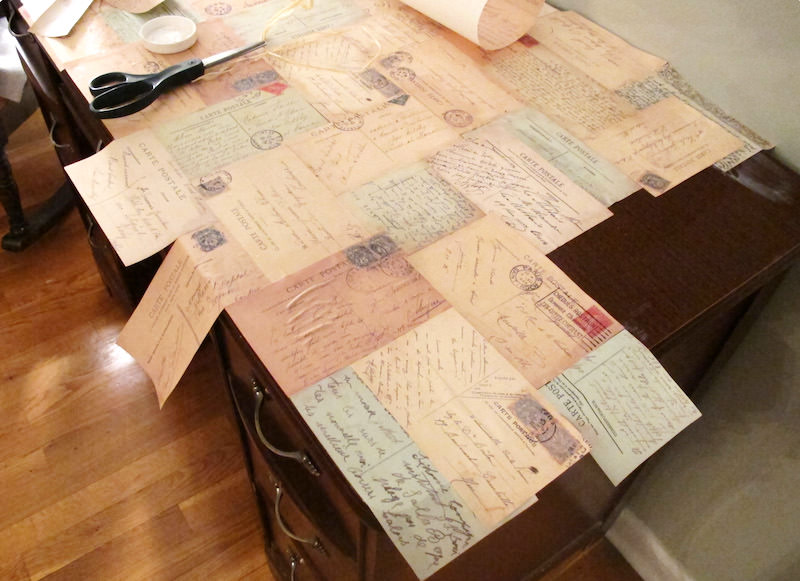
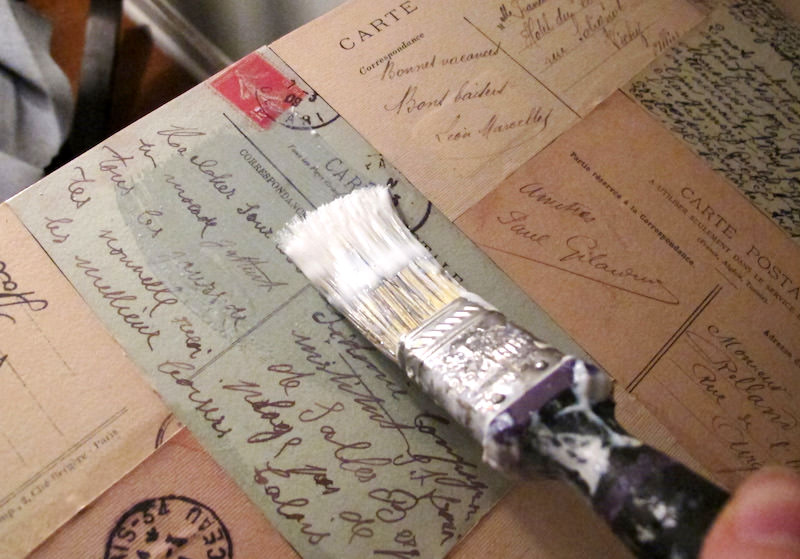
At first I thought this decoupage desk by Kelly at Back to Domestics was covered with real postcards, until I took a closer look – it’s paper from Paper Source!
Which leads me to the most frequently asked question I get about this post: “can I use real postcards to Mod Podge a desk/chair/stool/table/other piece of furniture?”
The answer is absolutely.
You’re going to have to make a few adjustments if you want to use real postcards. Here are my thoughts:
- Postcards can get bent in transit. And as you know, they are thicker. If you can flatten them as much as possible (with heavy books) before decoupage, that will help.
- Speaking of the postcards being thicker, you’ll want to keep them pressed to the desk with heavy books after Mod Podging to ensure contact. Place plastic wrap or wax paper down between the books and the cards so you don’t glue them together.
- Use a good amount of Mod Podge on both the back of the cards and the desk when decoupaging. You can wipe away any excess that comes out the sides.
- Postcards aren’t necessarily of the same thickness. Some are thicker than others. If using real postcards on your decoupage desk, you might want to consider a resin like EnviroTex Lite as your final (smooth and level!) finish.
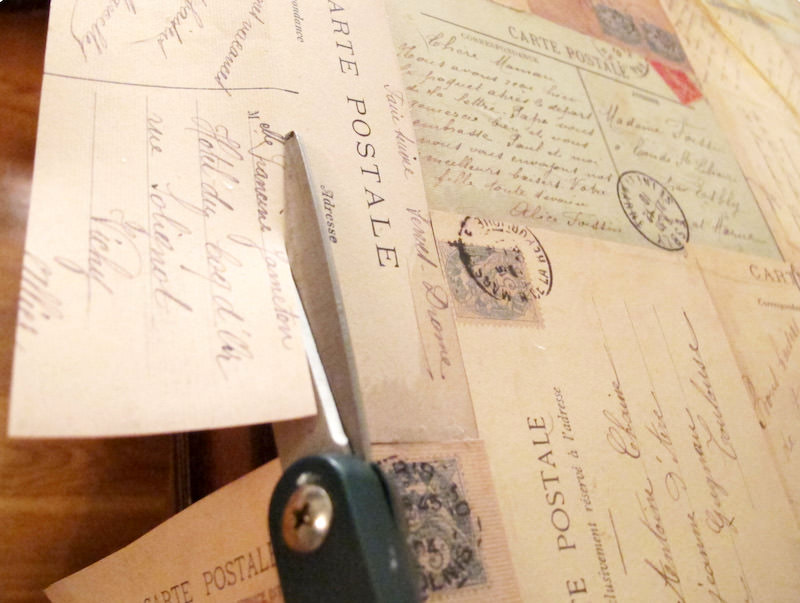
- I use a heavy duty craft knife and ruler to cut thick materials so that I can get a clean edge. You can definitely use scissors, but you’ll find the best edges come from a craft knife.
If you do use paper with a postcard (or other) pattern, I recommend wetting the paper for your decoupage desk. This helps avoid wrinkles. You can see the method I’m talking about here.
Kelly did a beautiful job and organized her “postcards” in such a fun way . . . the finished piece is awesome. Check out Kelly’s tutorial or visit the how-to below.

Decoupage Desk
Equipment
Instructions
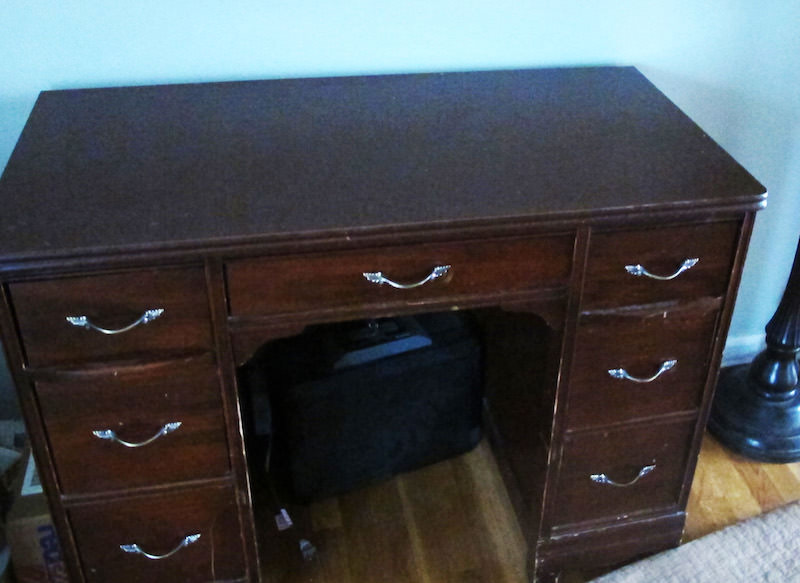
- Sand the top of the desk using sandpaper for better adhesion. Wipe away dust using a tack cloth.
- Cut your paper or postcards to fit the desk using the scissors and/or craft knife.
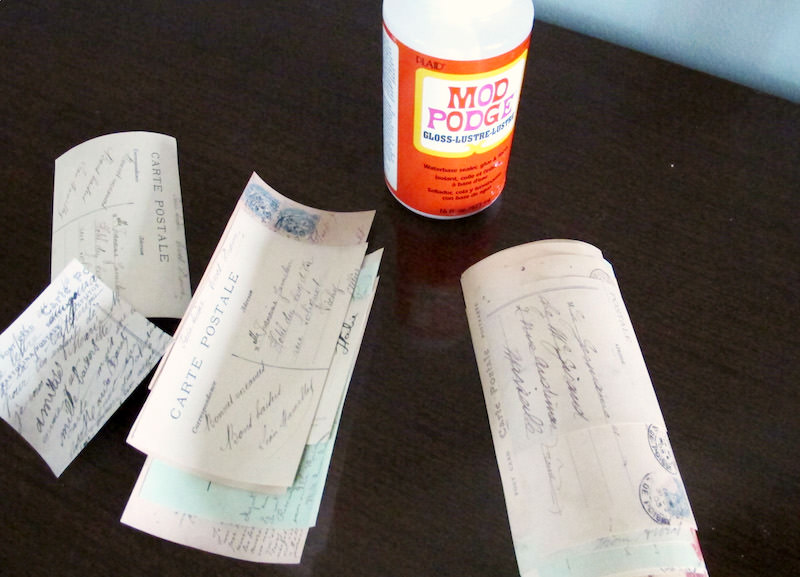
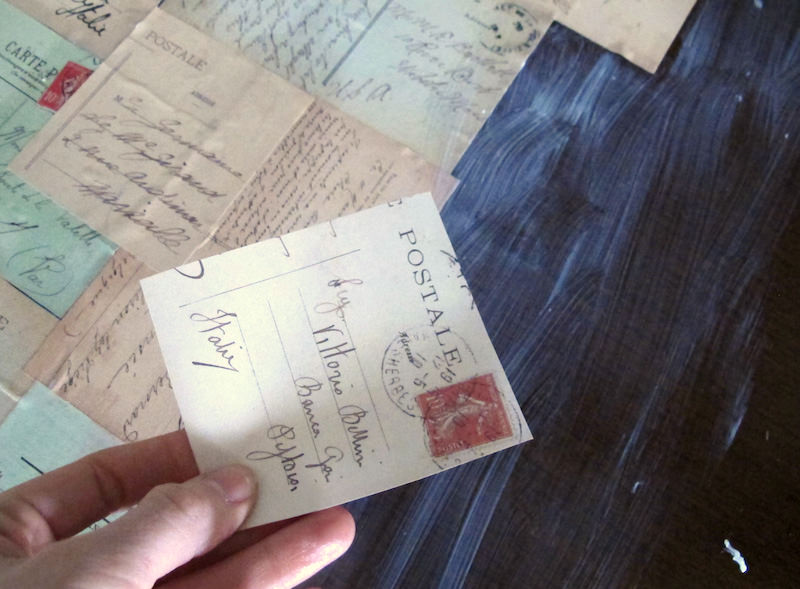
- Begin at one end of the desk. Place Mod Podge down on the desk and on the back of the paper/cards. Smooth down on the surface.
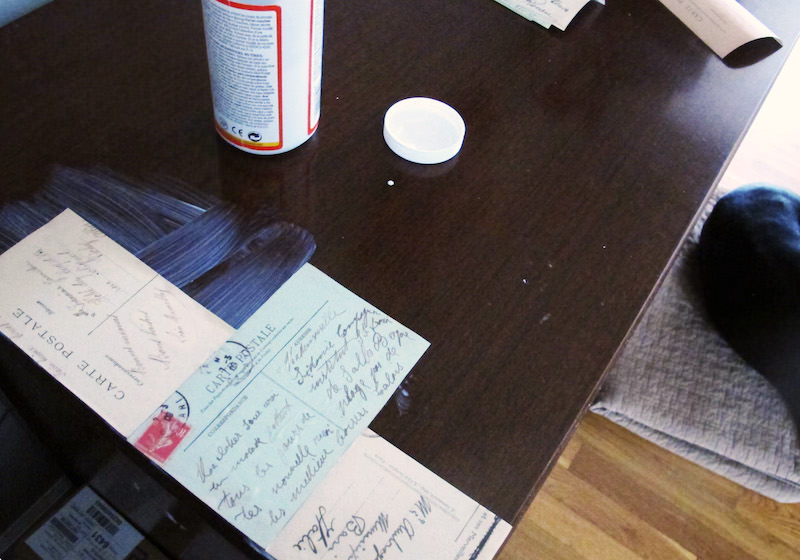
- Continue along the length of the desk, adding paper or postcards until fully covered. Leave overhang for now.
- Trim paper and cards to fit in blank areas or any areas that aren’t fully covered.
- Let dry for several hours if not overnight (weight down if necessary).
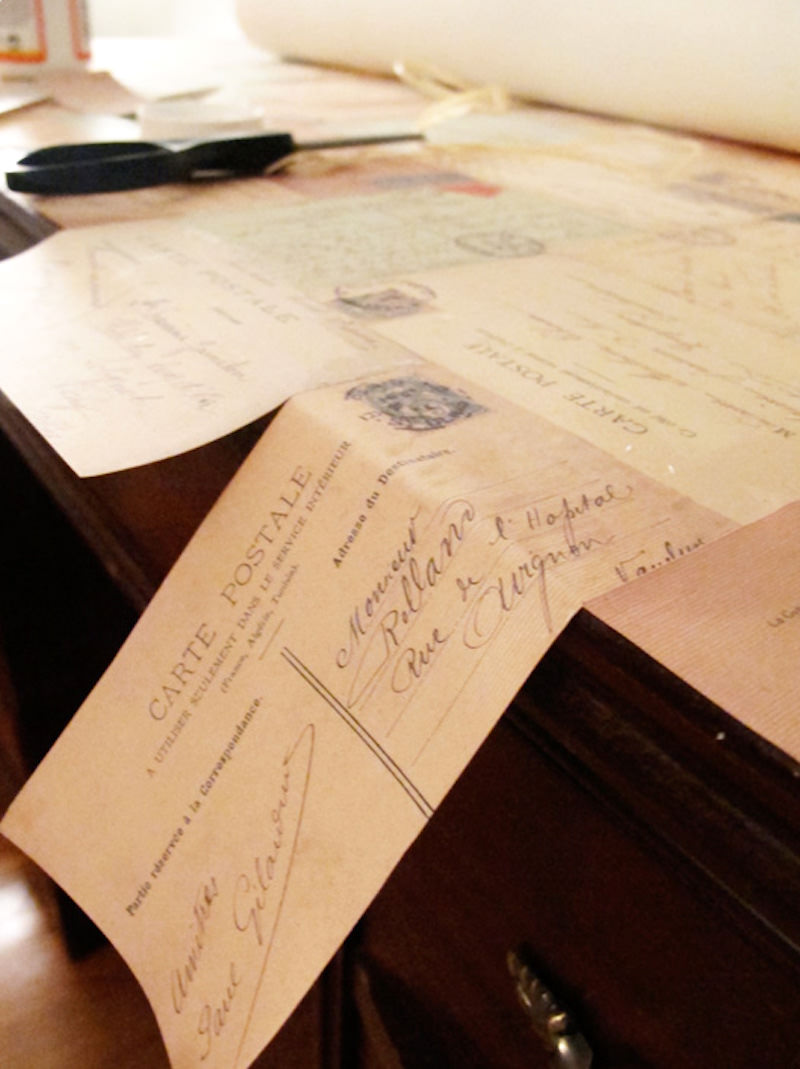
- Trim off edges of the paper or postcards using scissors or a craft knife. Do this around the entire desktop.
- Give two final coats of Mod Podge to the top of the desk, letting dry between coats.
- Let the desk dry overnight before using. If desired, add a final sealing coat of polycrylic for added durability.

Notes
- If your desk is dark and your paper is thin, consider using a white primer on the top. If you don’t, you might see some of the darkness of the desktop show through the paper.
- I recommend using Mod Podge Hard Coat on this project.
If you enjoyed this decoupage furniture project, I’d love for you to check out these other ideas as well:


3 words: FAB-U-LOUS!!!!
Rose
Such a beautiful idea!
This. Is. AWESOME.
And so pretty! I love it!
Wonderful makeover!simple and beautiful idea!
Great idea! And thank you for introducing us to this very creative DIYer…following her blog now too!