
Create one-of-a-kind DIY belt buckles using scrapbook paper, embellishments, and Dimensional Magic. A fun, budget-friendly fashion craft!

There are certain fashion accessories that never seem to get enough credit.
Scarves get all the attention. Handbags have entire walls dedicated to them. Jewelry has its own display case.
Meanwhile, the belt buckle is just…there.
Which is kind of a shame, because it’s one of the easiest ways to add a little personality to an outfit.
Think about it. A plain pair of jeans and a simple T-shirt instantly feel more interesting when you add a unique buckle. It’s a small detail, but it’s one people notice—especially when it’s something they haven’t seen before.
That’s exactly why I love these DIY belt buckles.
Instead of settling for whatever happens to be hanging on a store rack, you can create something that’s completely your style. Vintage florals? Go for it. Bright geometric patterns? Absolutely.
Favorite colors? Monograms? Glitter? Tiny embellishments? There really aren’t many limits once you start looking through your scrapbook paper stash.
They’re also surprisingly inexpensive to make.
The buckle blank is really the only specialty supply you’ll need, and after that it’s the perfect excuse to use up leftover scrapbook paper, stickers, rhinestones, or other embellishments you’ve been saving for “the right project.” (We all have that drawer.)

I especially love projects like this because they’re wearable. Instead of making something that sits on a shelf collecting dust, you end up with an accessory you can actually use. Every time someone asks where you bought your belt buckle, you get to smile and say, “I made it.”
These also make fantastic handmade gifts. Create one in someone’s favorite colors, use paper that matches their personality, or customize it around a hobby they love. It’s thoughtful, personal, and unlike anything you’ll find in a department store.
One of my favorite parts of this project is how polished the finished buckle looks. The glossy finish gives the paper depth and makes it look almost like enamel or resin, even though it’s made with simple craft supplies. It’s one of those projects that looks much more complicated than it really is.
The hardest part might actually be deciding which paper to use.
Whether you’re making one statement buckle or a whole collection to swap out with different outfits, this is an easy afternoon craft that lets you turn a basic accessory into something that’s completely your own.
So grab your favorite scrapbook paper and let’s make a DIY belt buckle that’s anything but ordinary.
Get the printable how to below:

Homemade Belt Buckles
Materials
- 2 Belt buckles I got mine from Etsy (search for "belt buckle blank")
- Mod Podge Dimensional Magic
- Mod Podge Gloss
- Scrapbook paper
- Embellishments stickers, brads, rhinestones, glitter . . . whatever you have in your stash
- Vellum
- Painter’s tape
Instructions
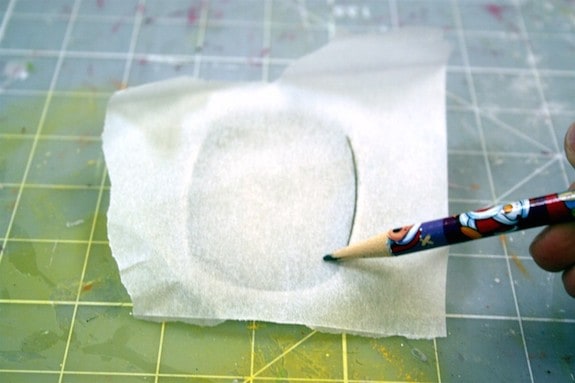
- First, use a piece of vellum (or another scrap of paper) as a template – trace the inside of the belt buckle with your pencil. I did a rubbing of the edge and it worked well.
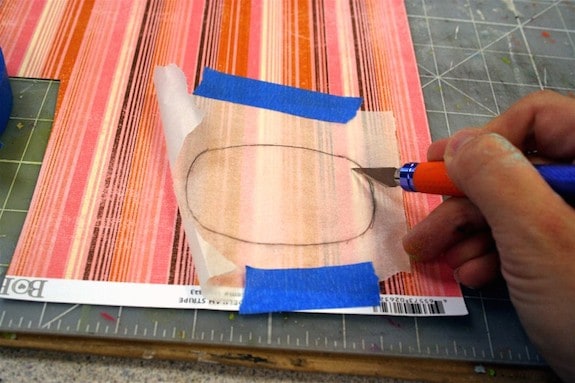
- Tape the template on your paper and cut it out (with scissors or a craft knife).
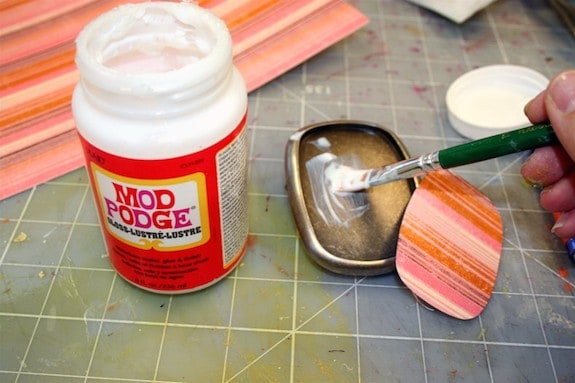
- Mod Podge the paper into the buckle blank and let it dry for a few hours.
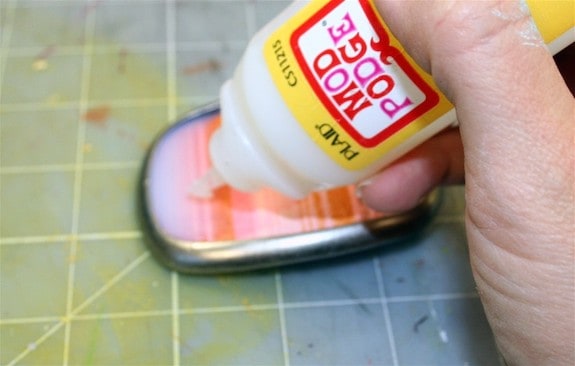
- Add embellishments (you can't see them under my hand in this photo, ha!) and then add Dimensional Magic. Here's the whole trick to the belt buckles: THREE layers.I did one layer and allowed to dry in a warm place (to prevent cracking). I did a second layer and allowed to dry again. THEN I did a third layer and added the scrapbooking brad embellishments so that they would be "dimensional" on the top of the Dimensional Magic.
- Let dry overnight, preferably for 24 hours, before attaching to a leather belt.
One more thing – I had everything on hand except for the buckles, so this project was budget friendly! I’d love to hear what you think about this project in the comments.
If you enjoyed this post, I’d also love for you to check out these other ideas:
Bangle Bracelets • Cover Shoes in Fabric • Decorate Sandals • Decoupage Earrings • DIY Hair Pins • Fabric Scrap Necklace • Glitter Shoes • Hot Glue Rings • Glass Cabochons • Lace Earrings • Paper Beads • Purse Refashion • Resin Jewelry • Washer Necklaces • Wood Pendant

Hi Heather! I’ve not heard of this and I think it requires some more investigation! If you didn’t put the DM on blue paper (or ink, which could bleed), then I would suggest writing Plaid so that they can look into it:
https://plaidonline.com/about/contact
Let me know!
Is there a way to save your project if the Mod Podge Dimensional turns blue?
No way! Those are SO cool! Love the creativity 🙂 We would ♥ for you to show this off at our linky party!
Lolly Jane
lollyjaneboutique.blogspot.com
OH these are so cool! I have not heard of the Dimensional Magic — need to investigate this further! Thanks for posting such a great tutorial!