
Learn how to decoupage a table top in this unique upcycled furniture project! You can do it yourself with Mod Podge. So easy!
Skills Required: Beginner. It helps if you have experience with paint and Mod Podge, because that’s what you’ll be doing to complete this project.
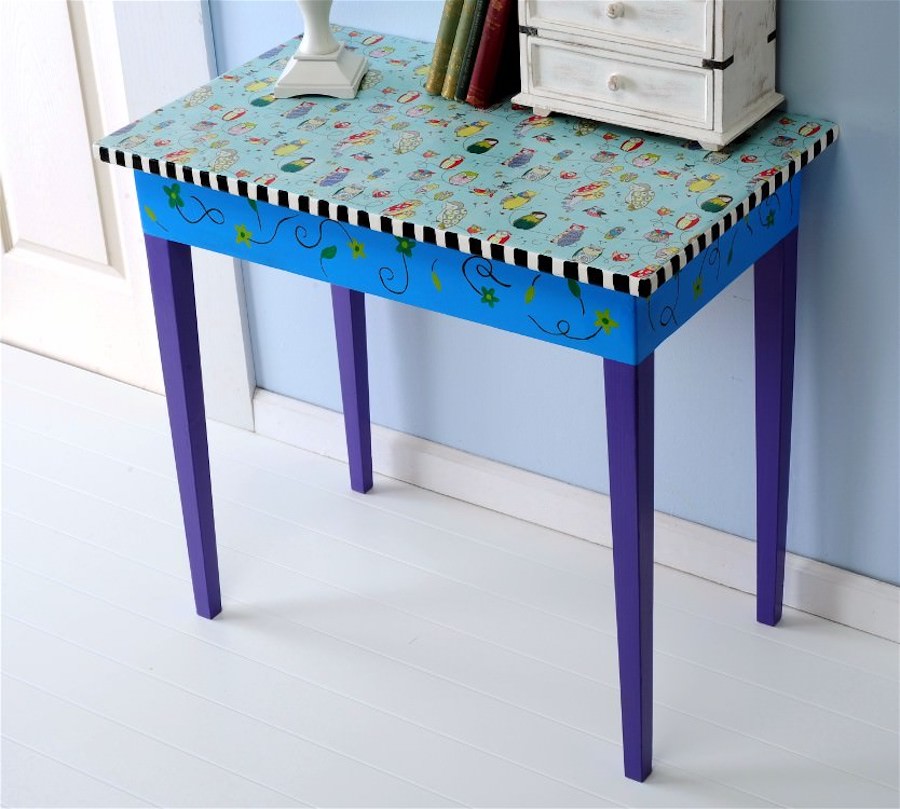
I love a good upcycled furniture project! I’m please to share the results of my “fabric table” makeover with you today. Call me the DIY queen! I’m kidding, but I am pleased with the results.
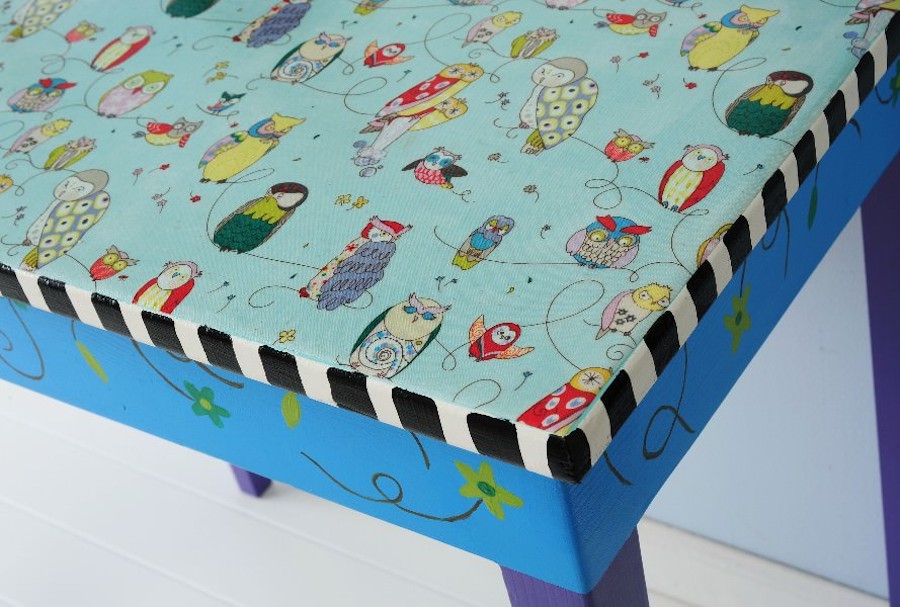
This decoupage tabletop is colorful like I am (kind way of saying goofball), and I absolutely love the owl fabric I Mod Podged to the top.
I’d like to walk you through this Mod Podge tabletop re-do because, if you are afraid of doing this to a piece on your own, you won’t be afraid after this upcycled furniture tutorial.
There are several steps, but if you have patience and give yourself the time to complete the project, you are going to have fun and love the results. As usual, let’s jump in.
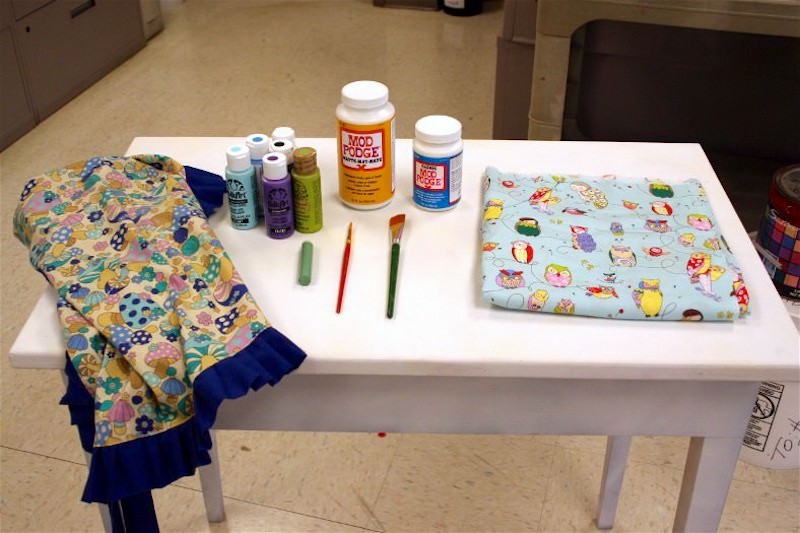
This little display shows you most of the goodies that I used for my decoupage tabletop. Here’s the full list of supplies:
- Wood table – mine is from the thrift store, sanded and spray painted white as a basecoat
- Mod Podge Fabric and Mod Podge Gloss
- FolkArt Paint – Asphaltum, Citrus Green, Jamaican Sea, Kelly Green, Lavender, Ocean Cruise, Pure Black, Titanium White (get the colors that coordinate with your fabric)
- Fabric, 1/2″ yard or enough to cover your tabletop. I used Alexander Henry Spotted Owl in Light Blue
- Paintbrushes, at least one large and one small, and a liner brush
- Scissors
- Stencil or painter’s tape (optional)
- Brayer (optional)
- Cute mushroom apron (optional)
If your table is going to get a lot of wear, I recommend using Hard Coat or Furniture Mod Podge. You can also use a clear acrylic sealer over regular Mod Podge. It just helps to have another layer of protection for heavy use.
Yes, you can clean the top with water. It’s not a table you want to spray with a lot of cleaners because you will eventually wear away the Mod Podge.
Get the printable how to card below:

Decoupage Tabletop
Equipment
- Paintbrush(es) at least one large and one small, and a liner brush
- Tape measure
Materials
- Wood table
- Fabric 1/2″ yard or enough to cover your tabletop
- Mod Podge Fabric
- Mod Podge Hard Coat
- Acrylic paint coordinating colors
- Spray primer optional
- Stencil or painter’s tape optional
Instructions
- Prepare the fabric by washing and drying it, then ironing flat. Cut to be slightly larger than the tabletop.
- Lay the fabric out on piece of wax paper and coat with a layer of Mod Podge Fabric. Let dry.

- Measure the tabletop and cut the fabric to fit using the scissors.
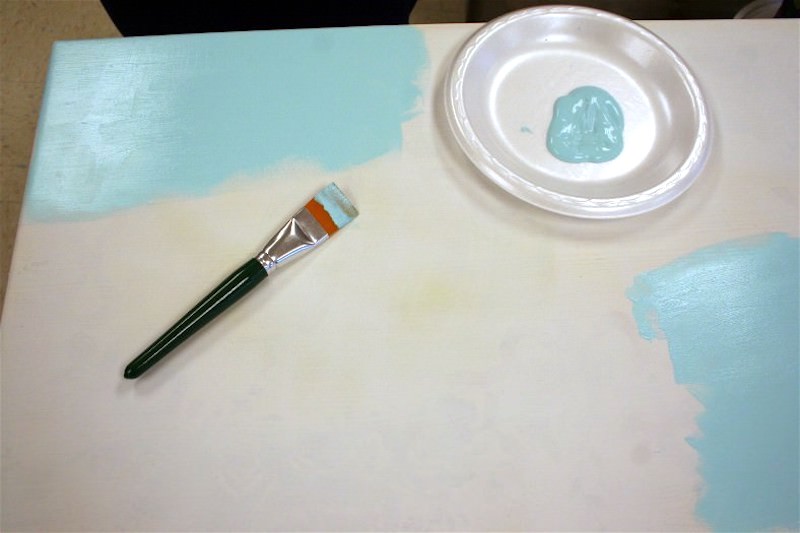
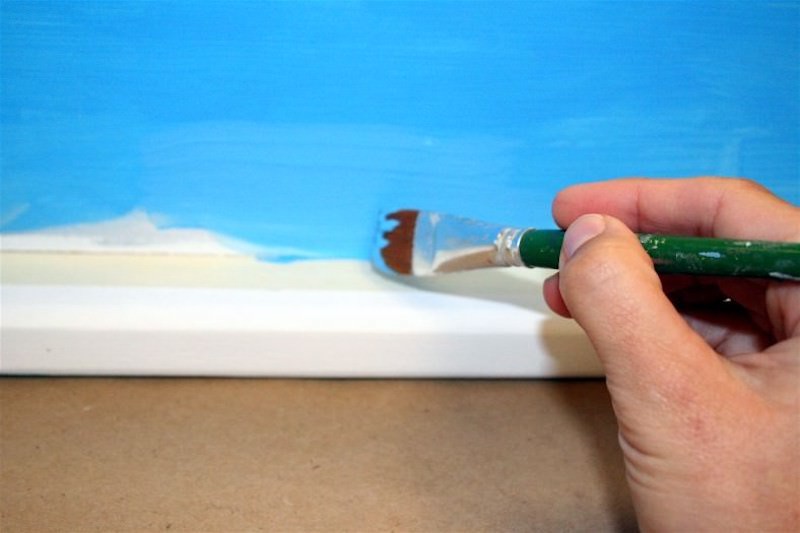
- Coat the tabletop with the acrylic paint color of your choice (match your fabric or use white). If you have a dark fabric with a light pattern, just stick with white as your background. Paint the entire tabletop and then let it dry. Clean up the edge if necessary.
- Paint the legs using the acrylic paint. Let dry.
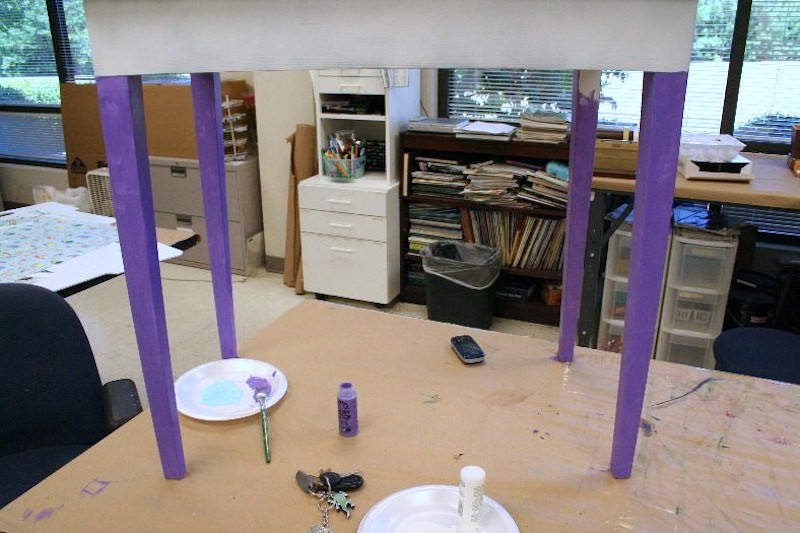
- Paint the side of the base of the table using the acrylic paint. Let dry.
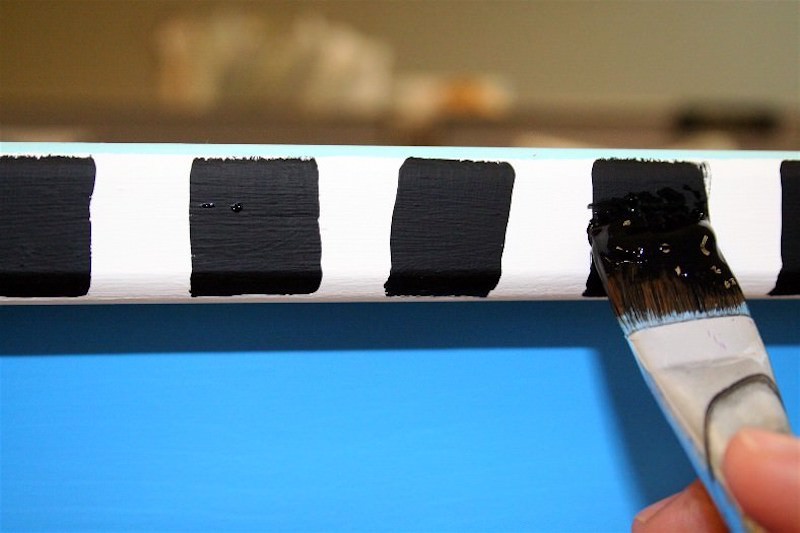
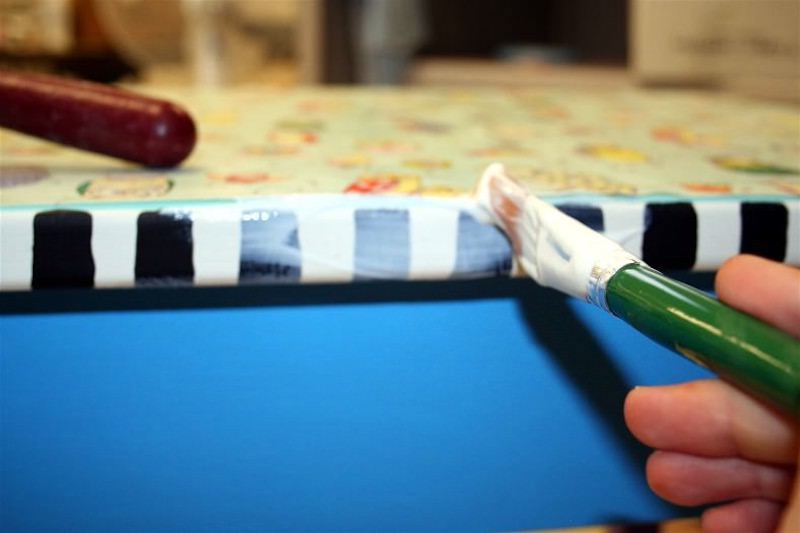
- Paint stripes around the edge of the top using acrylic paint (I used black). Use painter’s tape to make the lines straight if you choose. Let dry.
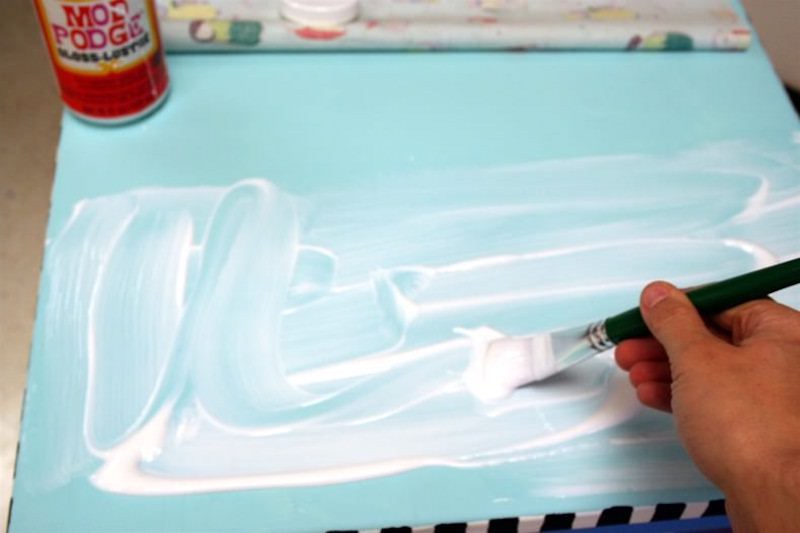
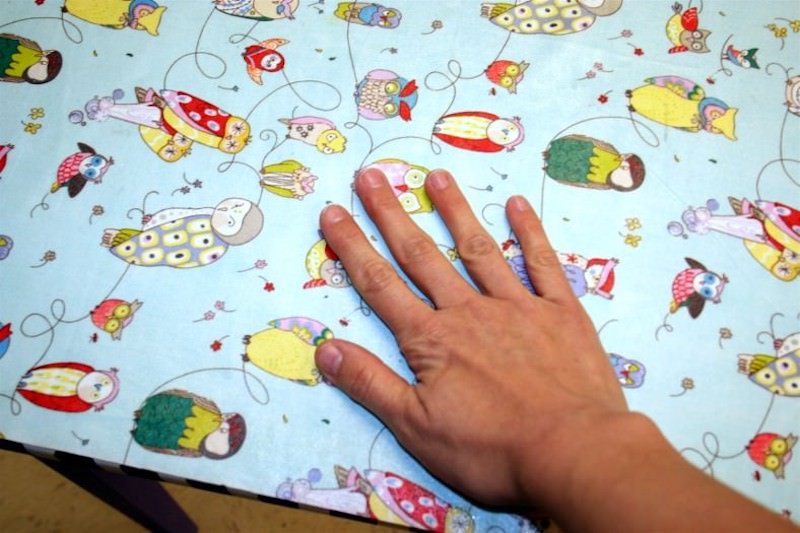
- Add a medium layer of Mod Podge to the top of the table. Place the fabric down and start smoothing. Work from the center out towards the edges. I did one half of the table, then the other half.
- Continue smoothing with your hands or a brayer. Wipe away any Mod Podge that squeezes out the edge. Let dry.
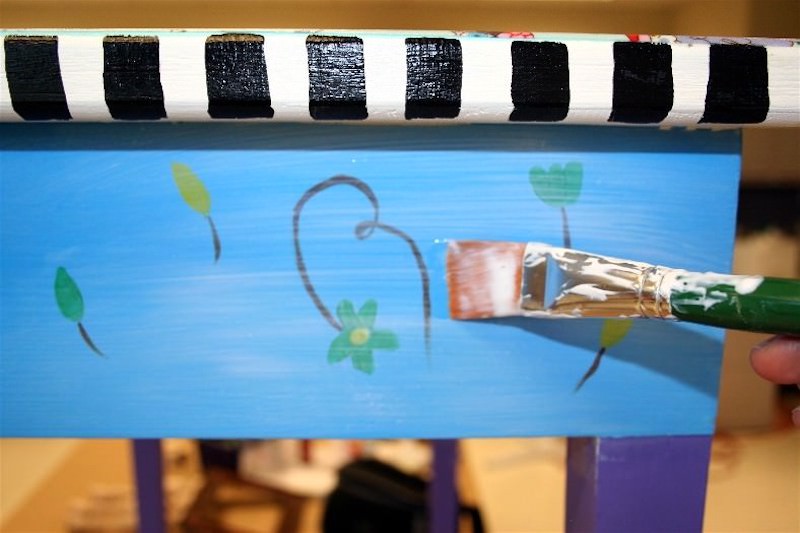
- Coat the entire tabletop with Mod Podge. Let dry.
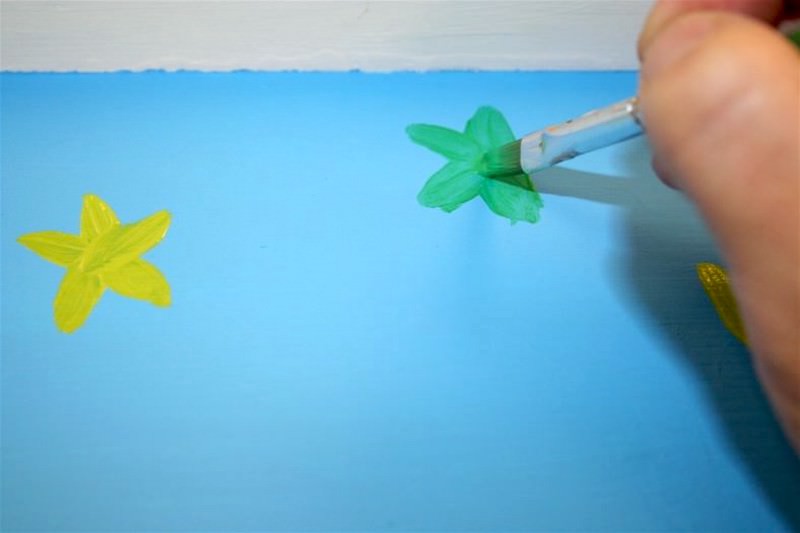
- Add acrylic paint decor (I did flowers) on the base of your table. Use the liner brush to add details. Let dry.
- Decoupage the entire table with a medium coat of Mod Podge – allow to dry and then repeat. Let dry for several hours before using.
Notes
I’m very pleased with my attempt at upcycled furniture, and the bright and cheery color palette makes me happy (it’s such a fun craft!). Are you ready to decoupage a tabletop of your own? Let me know in the comments!
If you enjoyed this decoupage furniture project, I’d love for you to check out these other ideas:


I want to do a hospital table with a laminate top. Cloth/fabric cover, mod podge gift for my dad who has cancer. Do I need to prep the top? Does it really take mod podge 28 days to cure? Will it be washable after it’s done? First time..I really want to get it right! (Father’s Day gift. Please help! 🙂
Hi Kris! There’s a video here: https://www.youtube.com/watch?v=Utq0FCepOEA This isn’t me but I found it 🙂
The one thing she didn’t cover is that you should sand the top a little bit just to “key” it up so that the Mod Podge sticks better. Then wipe away the dust. So yes I would prep it. Use a rougher grit sandpaper.
It takes Mod Podge 28 days to cure but that just means reach its ultimate strength/chemical bonding. It will be dry the first day. But before it gets beat up, I’d let it cure for 28 days. That doesn’t mean don’t use it, just don’t go crazy.
If it’s going to take a big beating, I’d put an additional clear acrylic brush on sealer like Minwax polycrylic over the top. You’ll be able to wipe it off with a cloth if you do that.
I’m so sorry that your dad has cancer! Good luck with the project and sending up a prayer for him!
Can Modge Podge be used to fill the ‘grooves’ in paneling? I’m wanting to cover the back of a bookshelf with fabric, but it has grooves in it, like paneling. It’s made of laminate. Thanks!
Hi Lynn! No, you would need to use something like wood filler. Thanks!
just gorgeous, what a great idea, and a great colour!
Wow! Great idea! I love the owl fabric and had no idea that there was such a thing as FABRIC MOD PODGE!!
Amy,
It’s So Very AMY. You did a great job. I love the black on the table edge. So whimsical.
Cheri
Love the great colors! What a makeover!
Cute table… I love the colors you chose.
If you would ever like new recipes or would like to be featured than please come on over to our blog and please check us out! We also have a give away going on right now and a apron going up tomorrow!! yah. thanks for letting me stop by your blog.
Amy, What a fun and whimcial piece. I love the fabric top – such a cool idea! I featured this on the Sunday Showcase post. Thanks so much for linking up. Hope you are enjoying your week! ~ Stephanie Lynn